Data Source
Introduction
Through the configuration of the data source, the form and the back-end program can realize the data interaction. The form has a built-in axios library for implementing network requests, and the data in response can be collated to get the data required by the form.
Configure Data Source
1. Open the Data Source Settings Panel
Open Data Source Settings in the Form Properties Panel to configure data sources.
2. Add Data Source
Click Add Data Source*, the data source Settings item will appear on the right side of the panel.
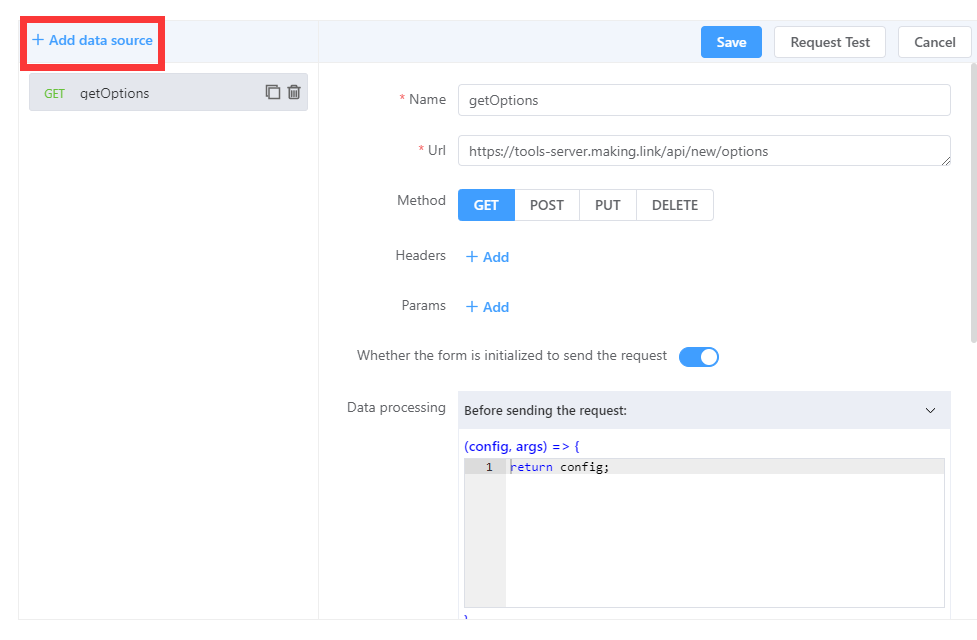
Setting items
Name: The data source name, which must be unique, is used to display and select data sources.
Whether the form is initialized to send the reque: Default as
true, The form create() lifecycle makes requests; If you choosefasle, you can make dynamic requests through thesendRequestmethod.Url: Address of the remote interface.
Data processing: You can handle interface requests before they are sent, successful responses, and when errors occur.
3. Request for Test
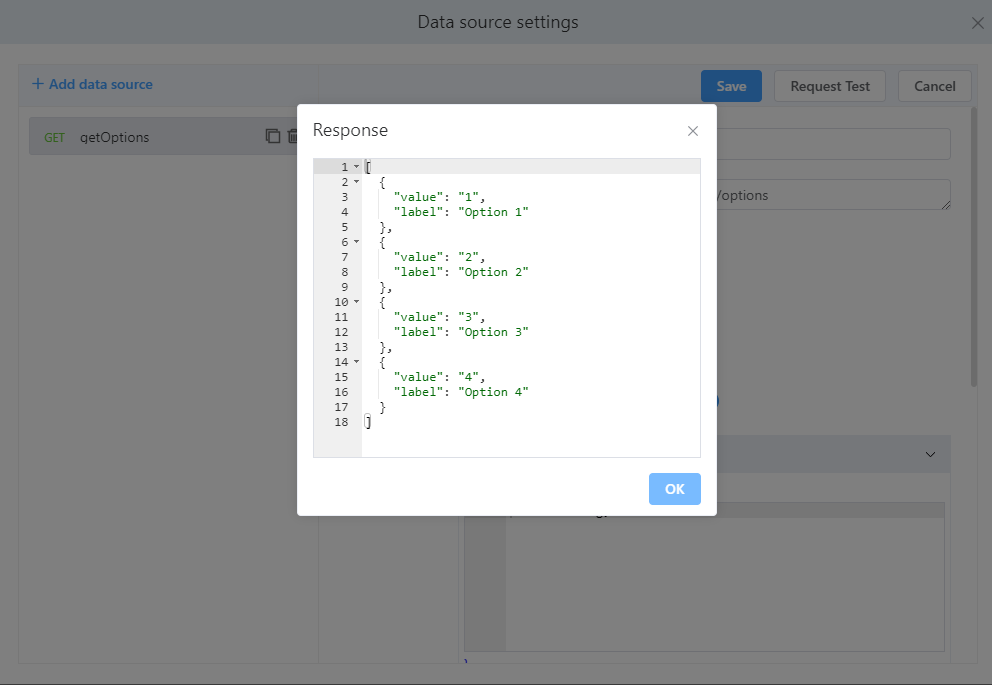
After completing the data source configuration, you can click Request Test to verify the data source interface to check whether the filling is successful and whether the returned data is correct.
NOTE
The this variable is not currently supported when requesting tests. If this is used, you can test the interface data in the preview mode.
4. Save
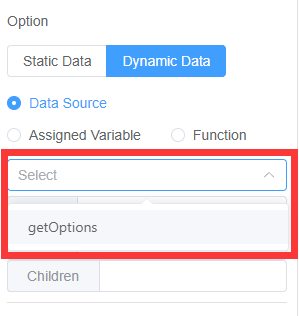
After configuring the data source, save the configuration. After saving, you can select the data source at designer configuration time.
Data Processing
Pre-Request
Before sending a request, you can set parameters, headers, and addresses for the request.
(config) => {
 	//Modify request address
  config.url = 'new url'

  //Modify request header
    config.headers = {'X-Requested-With': 'XMLHttpRequest'}

  //Modify request query parameters
    config.params = {ID: 12345}

  //Data sent by the request body is not applicable to GET requests
  config.data = {firstName: 'Fred'}

  return config;
}
The configurable items can be viewed in the axios documentation: Request Config ↗。
When the Request Returns Response Data
After a successful interface request, the returned data can be processed.
(res) => {
 	//res: The data returned by the interface can be processed here
    return res;
}
When a Request Error Occurred
(error) => {
  if (error.response) {
    // The request was made and the server responded with a status code
    // that falls out of the range of 2xx
    console.log(error.response.data);
    console.log(error.response.status);
    console.log(error.response.headers);
  } else if (error.request) {
    // The request was made but no response was received
    // `error.request` is an instance of XMLHttpRequest in the browser and an instance of
    // http.ClientRequest in node.js
    console.log(error.request);
  } else {
    // Something happened in setting up the request that triggered an Error
    console.log('Error', error.message);
  }
  console.log(error.config);
}
Fetching Form Data
In data processing functions, form methods can be called using the this keyword, see the this function for details.
Before the request is sent:
(config) => {
  config.data = this.getValues();
  return config;
}
Data source parameter configuration ^1.4.0
Parameters can be passed to the data source to perform personalization in data processing.
1. Adding Parameters
The args parameter is built into the data processing method.
(config, args) => {
  config.params['fid'] = args.fid;
  return config;
}
TIP
Parameter parsing can be performed in the following three ways:args.fid 、 args['fid']、 const { fid } = args。
2. Request for Test
If the args variable is used, it will be automatically resolved when the test is requested, which is convenient to test the correctness of the interface.

TIP
Since the this variable is used in the data processing, it cannot be verified in the request test, so we can use args to pass the value of the form into the data source for processing. For more details,please refer to [Use in the JS Action Panel](#Use in the JS Action Panel).
3. Data Source Binding
In the Field Properties panel, the binding data source can be used to define parameters.
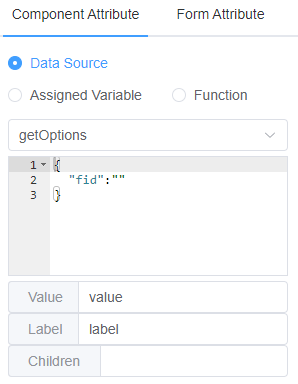
TIP
Only static data parameters can be specified here. If dynamic data is needed, data source operations need to be performed in the JS action panel. For more details,please refer to [Use in the JS Action Panel](#Use in the JS Action Panel).
Use in the JS Action Panel
In addition to being able to bind data sources directly in the field properties panel, we also provide a more flexible way to call data sources in JS.
refreshFieldDataSource
Load the data source configured by the field, which can be used to refresh (resend) the data request.
this.refreshFieldDataSource('Field ID',
  { fid: '' } // 数据源参数
)
sendRequest
Send a data source request. This method does not bind the field and needs to bind the data after the data is returned.
this.sendRequest('Data source name', { /* Data source parameters */ }).then(data => {
  // data is the data of the request response return in the data source configuration
}).catch(e => {
  // Error message is returned if the request occoured error
})
For detailed use of the JS Action panel can be found here JS Action Panel。